2. Software Setup and Basic Testing
To start using the GoGo Board, the only program you will need to install is the GoGo Widget. You need a Chrome web browser as the GoGo Widget is a Chrome Application. The GoGo Widget can be installed from the Chrome Web Store. Follow the link below to install the GoGo Widget on your Chrome Browser or search for “GoGo Widget” from the Chrome Web Store’s main page.

Click to install the GoGo Widget from the Chrome Web Store
No driver is required for the GoGo Board. Since the GoGo Board works like a mouse and keyboard (using a protocol called HID), your computer recognizes the board immediately.
To check that everything is good with your GoGo Board, first connect the board to your computer using the micro-USB cable. Turn the board on using the on/off switch. You should hear a short beep sequence and the built-in screen should display the word “GoGo” for a few seconds. The GoGo Widget should display a picture of the GoGo Board as well. This indicates that everything is good.

The above screen displays a question mark, which means no GoGo Board is connected.
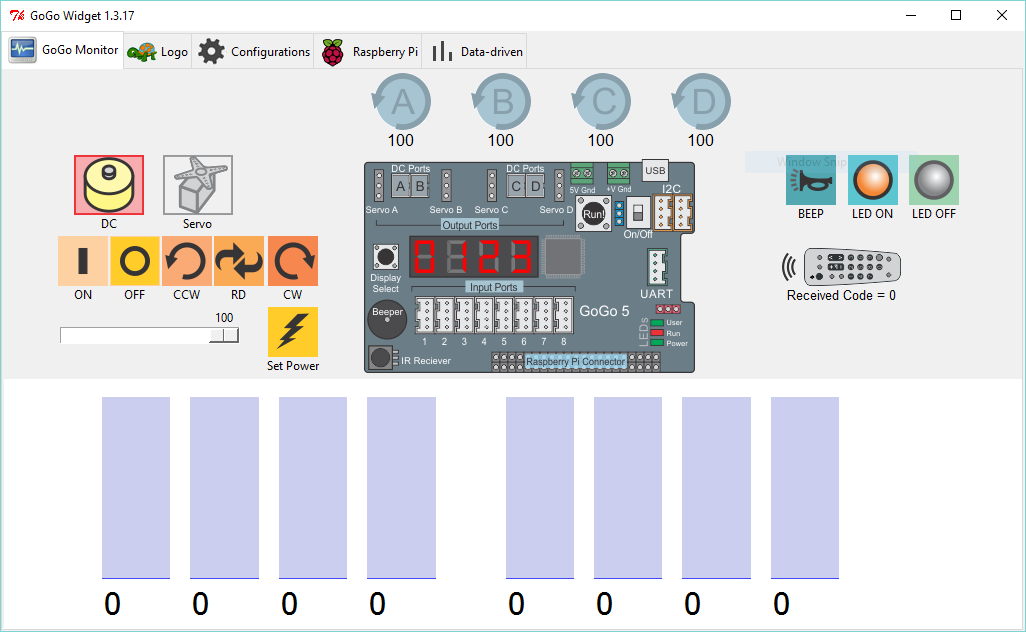
A GoGo Board image appears once a connection is made. This usually happens just by connecting the USB cable and turning the GoGo Board on.
The simplest things to do now are to make the GoGo Board beep and to control the on-board LED. The buttons to perform these basic tasks are located on the right side of the screen as shown below.
| Icon | Command |
|---|---|
 |
BEEP - Once pressed, a beep sound from the GoGo Board confirms that the board is alive and well. |
 |
LED ON - turns on the built-in Green LED on the lower right. |
 |
LED OFF - turns off the LED. |